janome hd 3000 instruction manual
Janome HD3000 Instruction Manual: A Comprehensive Guide
This manual provides essential safety precautions for household use, emphasizing careful operation around children. It details proper usage, recommended attachments, and guidelines for maintaining functionality.
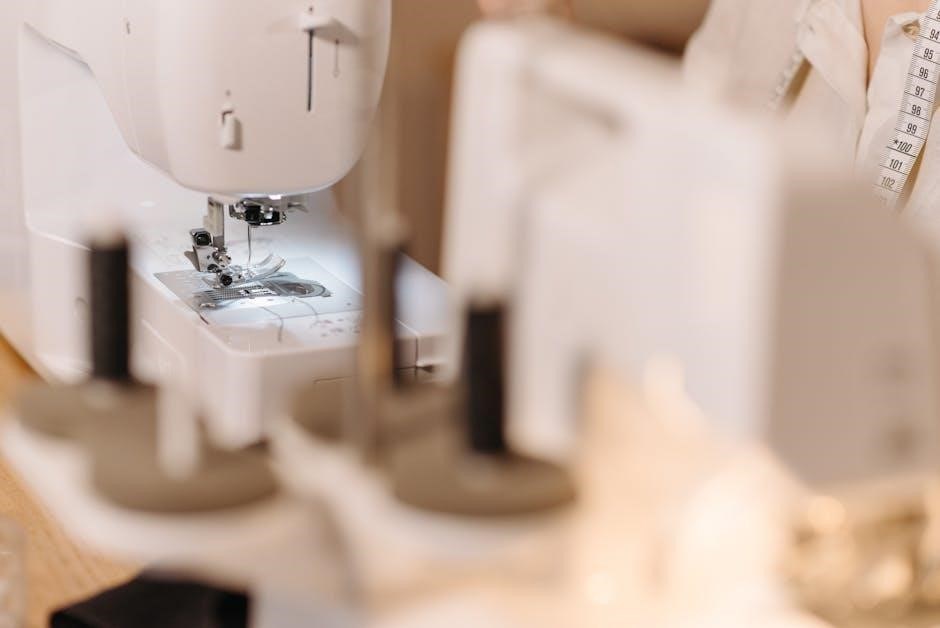
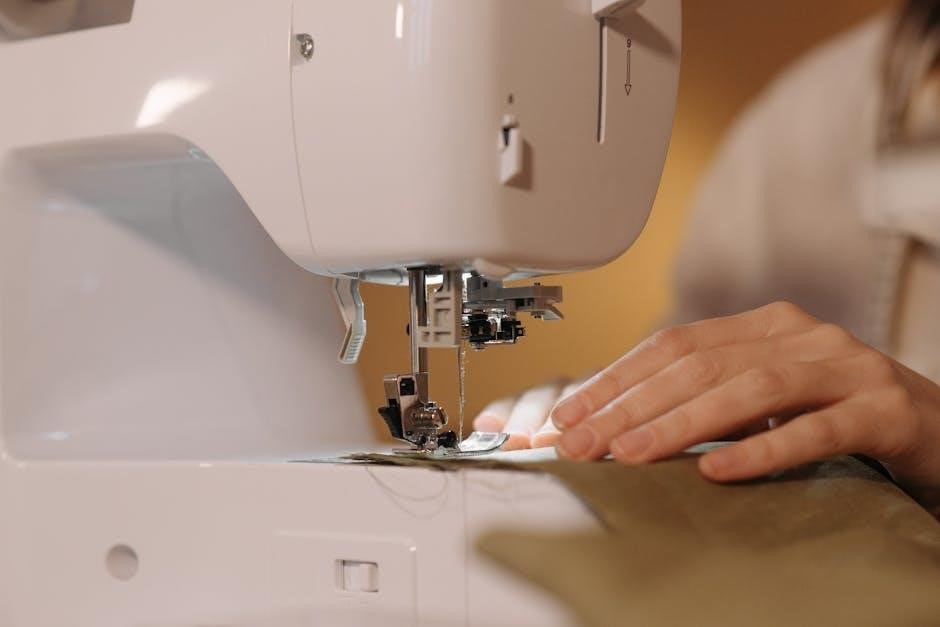
Welcome to the world of sewing with the Janome HD3000! This robust and reliable machine is designed for both beginners and experienced sewists, offering a blend of simplicity and capability. This instruction manual serves as your comprehensive guide to unlocking the full potential of your new sewing companion.
The Janome HD3000 is specifically engineered for household use, providing consistent performance for a wide range of projects – from simple alterations to crafting beautiful garments and home décor. Before you begin, it’s crucial to familiarize yourself with the important safety instructions detailed within this manual. These guidelines are in place to ensure your safety and the longevity of your machine.
This manual will walk you through every step, from unboxing and initial setup to mastering advanced techniques. We’ll cover essential operations like threading, bobbin winding, stitch selection, and troubleshooting common issues. Remember, using only recommended attachments, as outlined in this manual, will guarantee optimal performance and prevent potential damage. Always prioritize safety and refer to this guide for proper operation.
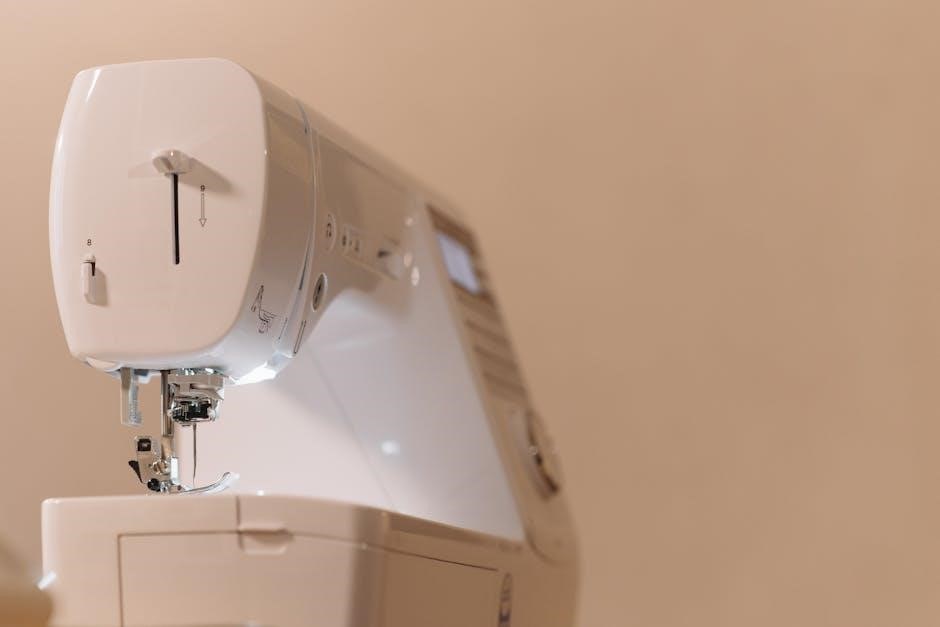
Machine Features and Specifications
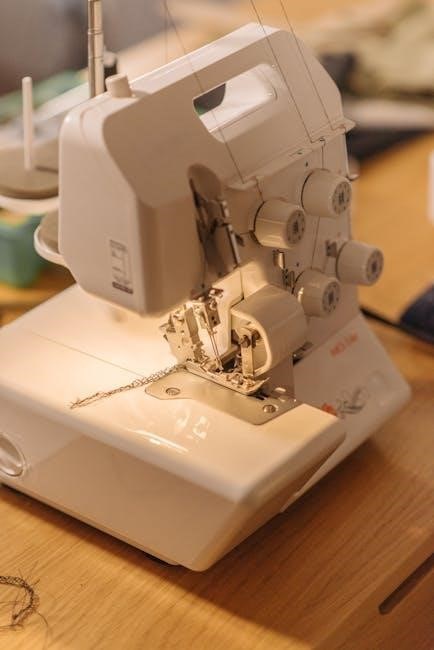
The Janome HD3000 boasts a durable metal frame, ensuring stability and long-lasting performance even with frequent use. It’s equipped with an auto-declutch bobbin winder, simplifying the bobbin preparation process – a key feature for efficient sewing. This machine is designed with user-friendliness in mind, making it accessible for all skill levels.
Key specifications include a range of built-in stitch patterns, offering versatility for diverse projects. While specific stitch counts vary, the HD3000 provides essential stitches for everyday sewing needs. The machine operates on standard household electrical power, and features a foot controller for precise speed control.
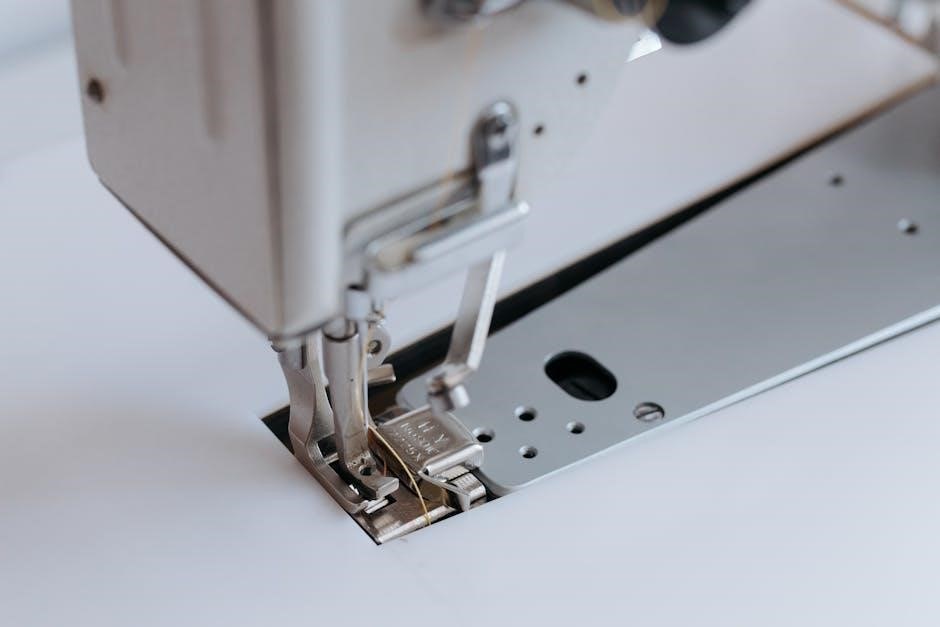
Safety is paramount; the HD3000 includes features like a needle plate designed to prevent breakage when the correct plate is used. It’s crucial to avoid using bent needles, as this can cause damage. Always disconnect the machine from the power source when not in use or performing maintenance. This machine is intended solely for household applications, and adherence to these specifications ensures optimal functionality and safety.
Setting Up Your Janome HD3000
Proper setup involves carefully unboxing components, ensuring a secure power connection, and correctly installing the bobbin. Following these steps guarantees optimal machine performance.
Unboxing and Component Checklist
Upon receiving your Janome HD3000, carefully inspect the box for any signs of damage during shipping. Once confirmed, gently open the packaging and lay out all included components on a clean, spacious surface. This initial step is crucial for ensuring you have everything needed before proceeding.
Your Janome HD3000 package should contain the following: the Janome HD3000 sewing machine itself, a power cord, a foot controller, a variety of presser feet (standard zig-zag, buttonhole, and potentially others depending on the model variation), a set of needles, bobbins, a seam ripper, a screwdriver (typically both standard and Phillips head), a spool pin(s), a brush for cleaning, and this instruction manual.
Carefully compare the physical contents with the list provided in this manual. If any items are missing or appear damaged, immediately contact your retailer or Janome customer support. Do not attempt to operate the machine if essential components are absent. Retain the original packaging for potential returns or warranty claims. A thorough component check prevents frustration and ensures a smooth sewing experience from the start.
Powering On and Initial Setup
Before powering on your Janome HD3000, ensure the power switch is in the “O” (off) position. Connect the power cord securely to the machine and then plug it into a grounded electrical outlet. Avoid using extension cords if possible; if necessary, use a heavy-duty extension cord rated for the machine’s amperage.
Next, connect the foot controller to the designated port on the machine. The foot controller allows for variable speed control during sewing. Gently depress the foot pedal to test its responsiveness – it should smoothly increase and decrease the sewing speed. Ensure the machine is placed on a stable, level surface to prevent vibrations during operation.
Initial setup also involves verifying the stitch selection dial is set to a straight stitch and the stitch length is at a medium setting (around 2.5mm). This provides a safe starting point for test sewing. Before threading, familiarize yourself with the machine’s key components, as outlined in the threading diagram. Always disconnect the power before performing any maintenance or adjustments. Proper initial setup is vital for safe and efficient operation.
Installing the Bobbin
The Janome HD3000 utilizes a front-loading bobbin system. Locate the bobbin cover on the front of the machine and gently slide it open. Remove the bobbin case – it’s a small, metal component. Insert the wound bobbin into the bobbin case, ensuring the thread unwinds in a clockwise direction. Guide the thread through the tension slot on the bobbin case; this is crucial for proper stitch formation.
Reinsert the bobbin case back into the machine, aligning the small notch on the case with the guide inside the machine. Push it in until it clicks securely into place. Gently close the bobbin cover. To verify correct installation, manually turn the handwheel towards you one full rotation; the bobbin should rotate smoothly.
Incorrect bobbin installation can lead to tangled thread and poor stitch quality. Always use genuine Janome bobbins for optimal performance. If you encounter resistance or the bobbin doesn’t rotate freely, remove it and re-install, carefully checking the thread path and tension. A properly installed bobbin is fundamental to successful sewing.
Winding the Bobbin
The Janome HD3000 features an auto-declutch bobbin winder for convenient operation. Place the spool of thread onto the spool pin, securing it with the spool cap. Guide the thread from the spool through the thread guide, and then wrap it around the bobbin several times by hand. This initial wrapping is essential to secure the thread.
Insert the bobbin onto the bobbin winder pin, pushing it firmly to the right. Push the bobbin winder stem to the right to engage the winder. Press the foot pedal gently to start winding; The machine will automatically stop when the bobbin is full, thanks to the auto-declutch feature.
Ensure the thread is winding evenly across the bobbin. If it’s uneven, stop the machine and adjust the thread guide. Avoid overfilling the bobbin, as this can cause issues with stitch quality. Regularly check the bobbin for proper winding and replace it when necessary. Proper bobbin winding is crucial for consistent sewing results.
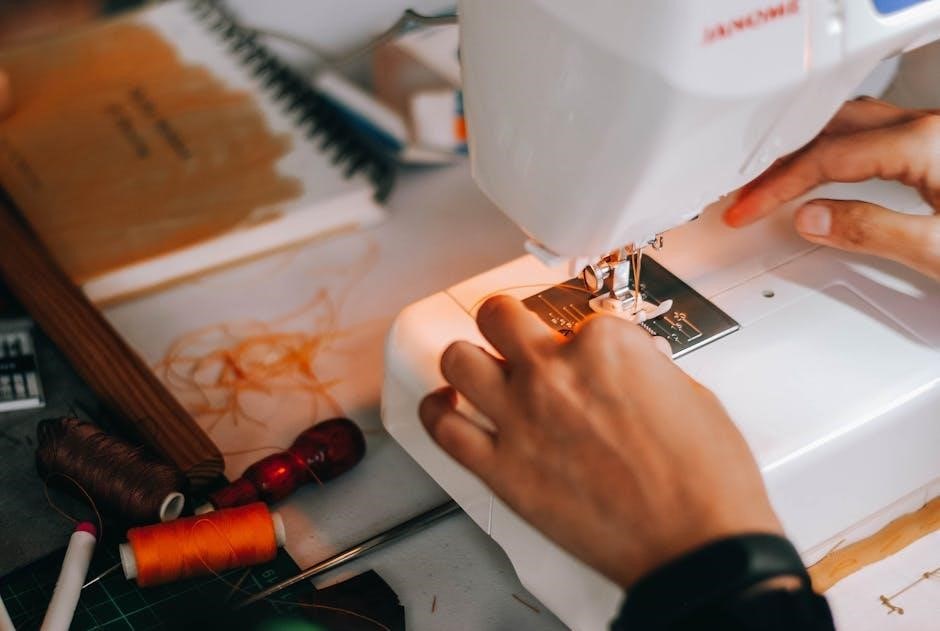
Basic Operation
Mastering the Janome HD3000 begins with correct threading, needle insertion, and stitch selection. Adjust stitch length/width, and utilize the foot pedal for controlled sewing.
Threading the Machine
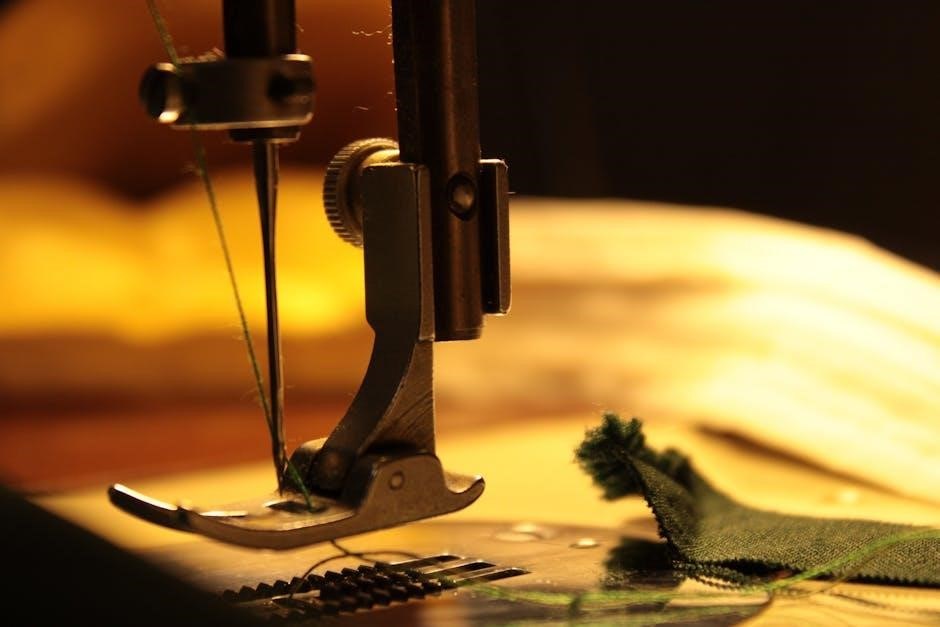
Proper threading is crucial for optimal Janome HD3000 performance. Begin by ensuring the machine is turned off and the presser foot is raised. Guide the thread from the spool pin, through the first thread guide, and then down to the tension disc – confirm the thread seats firmly between the discs for consistent tension.
Next, lead the thread through the take-up lever, ensuring it’s in its highest position. Continue threading through the remaining thread guides, and finally, thread the needle from front to back. A bent or damaged needle should never be used, as it can cause breakage and potential injury.
Always use the correct needle plate for the fabric and stitch being used; an incorrect plate can lead to needle damage. Avoid pulling or pushing the fabric while stitching, allowing the feed dogs to advance the material smoothly. Double-check that the thread is correctly seated in all guides before beginning to sew. Incorrect threading can result in skipped stitches, thread breakage, or poor stitch quality. Refer to the diagrams in your instruction manual for a visual guide to ensure accurate threading.
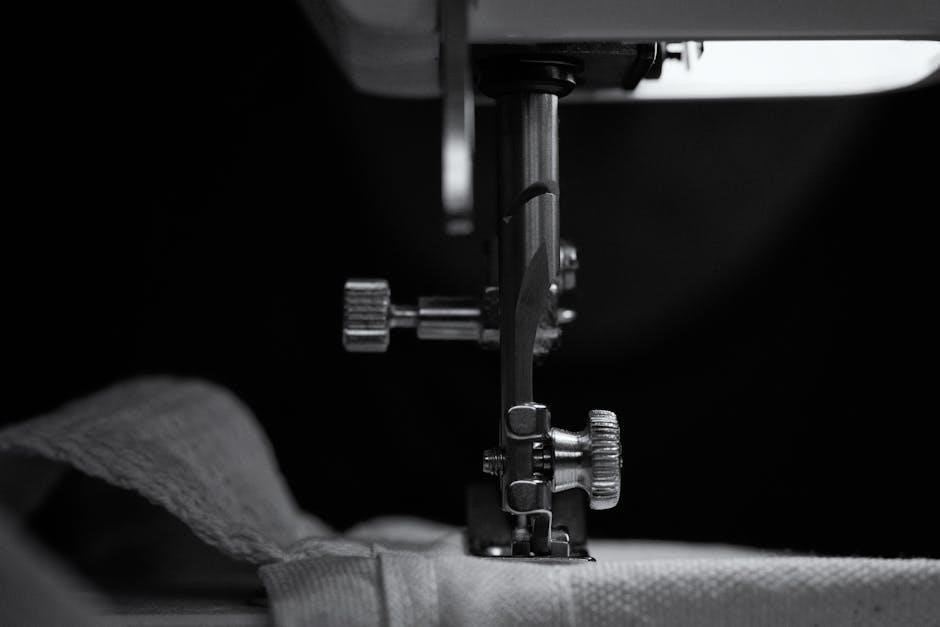
Inserting the Needle
Correct needle insertion is vital for safe and efficient sewing with your Janome HD3000. Always ensure the machine is switched off before attempting to change the needle. Raise the needle to its highest position using the handwheel. Loosen the needle clamp screw, but do not remove it completely.
Insert the new needle with the flat side facing the back of the machine. Push it firmly up into the needle clamp until it stops. Tighten the needle clamp screw securely, but avoid over-tightening, which could damage the clamp. Never use bent or damaged needles, as they pose a safety risk and can cause fabric or machine damage.
Always use the appropriate needle type and size for your fabric. The wrong needle can lead to skipped stitches, thread breakage, or needle breakage. Ensure the needle is fully inserted and securely clamped before beginning to sew. Regularly inspect the needle for any signs of wear or damage, and replace it as needed. Proper needle insertion contributes significantly to the quality and longevity of your sewing projects.
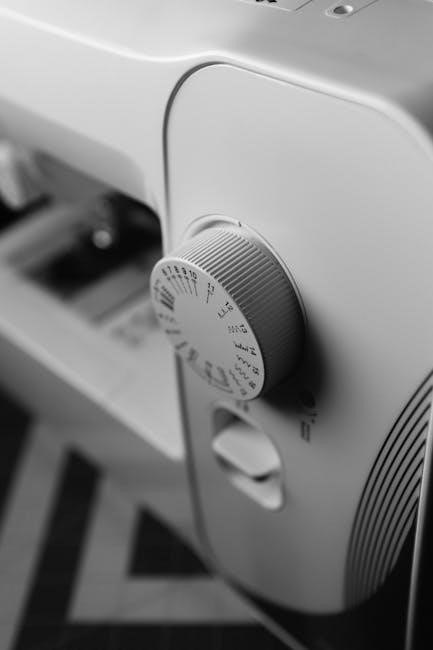
Selecting Stitch Patterns
The Janome HD3000 offers a variety of stitch patterns to accommodate diverse sewing needs. To select a stitch, locate the stitch selection dial on the machine. Rotate the dial to align the desired stitch number with the indicator mark. The machine displays a range of stitches, including straight stitch, zigzag stitch, and decorative options.
Refer to the stitch chart in your instruction manual for a visual guide to each stitch pattern and its recommended uses. Experiment with different stitches on scrap fabric to understand their characteristics before applying them to your project. Adjust the stitch length and width as needed to achieve the desired result.
For specialized stitches, consult the manual for specific instructions and recommended settings. Ensure the correct presser foot is installed for the selected stitch to optimize performance. Understanding and utilizing the stitch selection feature unlocks the full creative potential of your Janome HD3000, allowing for versatile and professional-looking sewing projects.
Adjusting Stitch Length and Width
Precise control over stitch length and width is crucial for achieving optimal sewing results with the Janome HD3000. Locate the stitch length dial, typically marked with measurements in millimeters. Rotating this dial adjusts the length of each stitch, impacting the fabric’s durability and appearance. Shorter stitch lengths are ideal for delicate fabrics or areas requiring extra strength, while longer lengths are suitable for basting or gathering.
Similarly, the stitch width dial controls the zigzag stitch’s breadth. Adjusting this dial alters the stitch’s coverage and decorative effect. Wider zigzag stitches are useful for finishing raw edges or creating decorative embellishments. Always test stitch settings on scrap fabric before sewing your project to ensure the desired outcome.
Refer to the stitch chart in the manual for recommended length and width settings for various fabrics and stitch patterns. Fine-tuning these adjustments allows for customized sewing, enhancing both the functionality and aesthetic appeal of your creations.
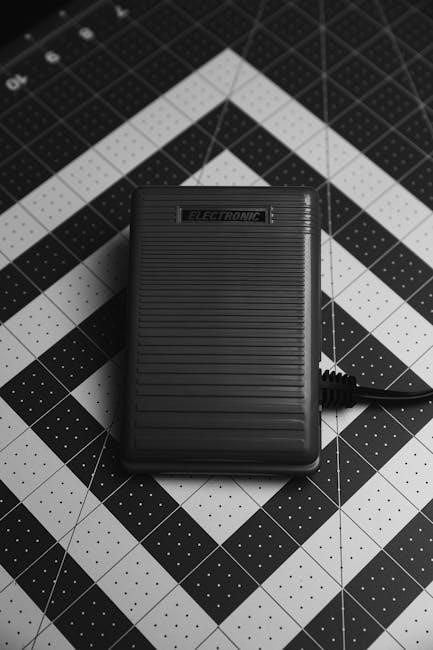
Foot Pedal Operation
The Janome HD3000’s foot pedal provides intuitive speed control, allowing for precise sewing. Gently pressing the pedal initiates sewing, with the sewing speed directly proportional to the pedal’s depression. Light pressure results in slow, controlled stitching, ideal for intricate maneuvers or delicate fabrics. Increasing pressure accelerates the sewing speed, suitable for straight-line stitching on robust materials.
The foot pedal isn’t simply an on/off switch; it’s a variable speed controller. Mastering this control is key to achieving consistent stitch quality and navigating curves smoothly. Avoid abrupt changes in pressure to prevent uneven stitching. Practice maintaining a steady rhythm for professional-looking results.
Ensure the foot pedal cable is securely connected to the machine. If the machine doesn’t respond, check the connection and power source. Proper foot pedal technique enhances control and contributes significantly to the overall sewing experience with the Janome HD3000.
Advanced Features & Techniques
Explore techniques like adjusting thread tension and utilizing optional presser feet to unlock the Janome HD3000’s full potential. Master reverse stitching for secure seams.
Using the Reverse Stitch
The reverse stitch function on your Janome HD3000 is crucial for securing the beginning and end of seams, preventing unraveling and ensuring durable projects. To engage the reverse stitch, locate the reverse lever, typically positioned conveniently near the handwheel or stitch selection dial. Pushing this lever down activates the reverse mechanism.
While holding the lever down, the machine will stitch backward. Release the lever to return to forward stitching. It’s important to note that the Janome HD3000 allows you to control the length of the reverse stitching. Experiment with different settings to find what works best for your fabric and project requirements. A short reverse stitch is generally sufficient for securing seams, while a longer stitch might be preferred for heavier materials.
Practice using the reverse stitch on scrap fabric to become comfortable with the lever’s operation and the resulting stitch length. Avoid excessively long reverse stitching, as it can create bulkiness and potentially weaken the seam. Remember to always return to forward stitching before continuing your sewing line. Mastering the reverse stitch is a fundamental skill for achieving professional-quality results with your Janome HD3000.
Adjusting Thread Tension
Proper thread tension is vital for creating balanced and aesthetically pleasing stitches on your Janome HD3000. Incorrect tension can lead to looping, puckering, or thread breakage. The tension dial, usually numbered, controls the amount of pull on the upper thread. Adjustments are typically made in small increments.
Begin by threading the machine correctly and testing the tension on a scrap of the fabric you’ll be using for your project. If the upper thread is looping on the underside of the fabric, the tension is likely too loose; increase the tension by turning the dial to a higher number. Conversely, if the bobbin thread is pulling through to the top, the tension is too tight; decrease the tension.
A balanced stitch will have interlocking threads both on the top and underside of the fabric. It’s crucial to re-thread both the upper thread and bobbin if adjustments don’t yield the desired results. Different fabric types and thread weights require varying tension settings, so experimentation is key. Always test your adjustments before starting your actual project to ensure optimal stitch quality and prevent frustration.
Changing the Presser Foot
The Janome HD3000’s versatility is enhanced by its interchangeable presser feet, allowing for specialized sewing techniques. To change the presser foot, ensure the machine is turned off and the presser foot lever is in the raised position. This releases the current foot. Locate the presser foot release button, typically at the back of the presser foot holder, and press it.
The existing foot will now drop down and away. Align the new presser foot with the presser foot holder, ensuring it’s facing the correct direction. Gently lower the foot until it clicks securely into place. A firm click confirms proper attachment. Always verify the foot is securely fastened before beginning to sew.
Using the incorrect presser foot can lead to poor stitch quality or even damage to the machine. Refer to your Janome HD3000 accessory guide to identify the appropriate foot for your specific sewing task. Regularly check the foot’s security, especially during extended sewing sessions, to maintain consistent and reliable performance.
Utilizing Optional Presser Feet
The Janome HD3000’s functionality expands significantly with its range of optional presser feet, catering to diverse sewing projects. These feet, sold separately, unlock specialized techniques beyond standard stitching. Common options include a zipper foot for precise zipper insertion, a buttonhole foot for consistently sized buttonholes, and a rolled hem foot for delicate fabric edges.
A blind hem foot allows for nearly invisible hems, while a satin stitch foot provides enhanced stability for decorative stitches. When selecting an optional foot, consult the Janome accessory guide to ensure compatibility with your HD3000 model. Installation follows the same procedure as changing the standard presser foot – raise the presser foot lever, release the current foot, align the new foot, and lower it until it clicks securely.
Experimenting with different feet opens up creative possibilities and improves the quality of your sewing. Remember to always test the foot on a scrap fabric before starting your project to ensure optimal results and prevent potential issues.
Maintenance and Troubleshooting
Regular cleaning prevents lint and dust buildup, ensuring smooth operation. Oiling key components maintains mechanical functionality, while addressing common issues promptly extends the machine’s lifespan.
Cleaning the Machine
Maintaining a clean Janome HD3000 is crucial for optimal performance and longevity. Regularly removing lint, dust, and stray threads prevents malfunctions and ensures smooth operation. Begin by disconnecting the power supply before any cleaning procedure. Use a soft brush – often included with the machine – to gently remove lint from the bobbin area, feed dogs, and around the needle plate.
For more thorough cleaning, a small vacuum cleaner with a brush attachment can be used to carefully suction debris from these areas. Avoid using compressed air, as it can blow dust further into the machine’s internal components. The exterior of the machine can be wiped down with a soft, damp cloth. Do not use harsh chemicals or abrasive cleaners, as these can damage the finish.
Pay particular attention to the ventilation openings, ensuring they remain free from obstructions. Accumulated lint can cause overheating and affect the machine’s performance. Regularly cleaning these areas, as outlined in the instruction manual, will help prevent these issues. Consistent cleaning habits will contribute to a longer lifespan and reliable operation of your Janome HD3000.
Oiling the Machine
Proper lubrication is essential for the smooth and efficient operation of your Janome HD3000. Regular oiling reduces friction between moving parts, preventing wear and tear and ensuring consistent stitch quality. Always disconnect the power supply before oiling. Refer to your instruction manual for specific oiling points, as improper lubrication can cause damage.
Typically, oiling points include the bobbin race, hook assembly, and any areas where metal parts move against each other. Use only sewing machine oil – never use oil substitutes like WD-40, as they can gum up the mechanism. Apply a small drop of oil to each designated point, and then operate the machine slowly by hand to distribute the oil evenly.
Wipe away any excess oil with a clean, lint-free cloth to prevent staining fabric. Avoid over-oiling, as this can attract dust and lint. The frequency of oiling depends on usage; heavier use requires more frequent lubrication. Following the recommended oiling schedule in the manual will help maintain peak performance and extend the life of your Janome HD3000.
Troubleshooting Common Issues
Encountering problems with your Janome HD3000 is common, but many are easily resolved. If the machine isn’t stitching, re-thread both the upper and lower threads, ensuring correct path and tension. A tangled bobbin often indicates incorrect threading or insufficient lubrication – check the bobbin case and oil if needed.
Skipped stitches can be caused by a bent or dull needle; replace it with a new one of the correct type and size. Fabric bunching may signal incorrect thread tension – adjust the tension dial incrementally until the stitches are balanced. If the needle breaks, ensure you’re using the correct needle plate for the fabric and stitch type.
Always refer to the instruction manual for detailed troubleshooting steps. Before seeking professional repair, double-check basic elements like the power cord, foot pedal connection, and proper bobbin winding. Remember safety first – always disconnect the power before attempting any repairs or adjustments.
Safety Precautions
Prioritizing safety is paramount when operating your Janome HD3000. This machine is designed solely for household use; avoid using it as a toy and ensure close supervision when children are nearby. Always disconnect the power by turning controls off and unplugging the machine before cleaning, oiling, or changing parts.
Never operate the machine with a damaged cord or plug, or if it malfunctions. Return it for examination and repair. Keep ventilation openings clear of lint, dust, and fabric to prevent overheating. Avoid inserting objects into any openings, and never operate the machine outdoors or near aerosol sprays or oxygen.
Keep fingers away from moving parts, especially the needle and cutting blade. Use the correct needle plate to prevent breakage, and avoid using bent needles. Do not pull or push fabric during stitching. Following these precautions will ensure safe and enjoyable sewing experiences with your Janome HD3000.