juki ddl 8700 instruction manual
Juki DDL-8700 Instruction Manual: A Comprehensive Guide
This guide provides detailed instructions for operating, maintaining, and troubleshooting the Juki DDL-8700 sewing machine,
leveraging resources like the Internet Archive and ABC Sewing Machine LLC’s documentation.
Access comprehensive manuals, including a 71-page engineer’s manual, for in-depth service and maintenance procedures,
ensuring optimal performance and longevity of your Juki DDL-8700 machine.
Explore basic instructions, belt installation, knee lifter adjustments, and threading procedures, all readily available for download and online viewing.
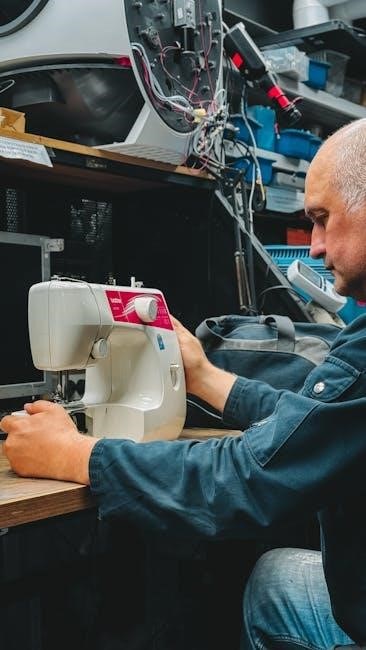
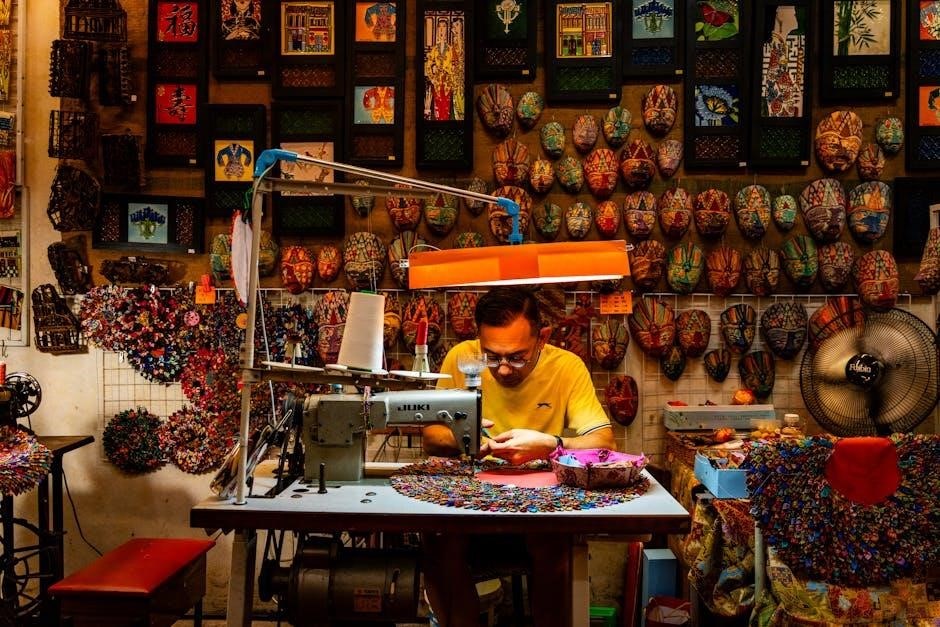
The Juki DDL-8700 represents a cornerstone in industrial sewing technology, renowned for its reliability and precision in straight stitch applications. This single-needle lockstitch machine is widely utilized across diverse industries, including apparel manufacturing, upholstery, and textile production. Understanding its functionalities through a comprehensive instruction manual is paramount for maximizing its potential.
This machine, detailed in resources like the Juki DDL-8700-7 Manual available on the Internet Archive, offers a blend of advanced features and user-friendly operation. Whether you are a seasoned technician or a novice operator, accessing the correct documentation – including basic instruction and detailed engineer’s manuals – is crucial.
The availability of both standard instruction manuals and specialized engineer’s guides (like the 71-page document found on Manualzz) ensures that users can address everything from routine maintenance to complex repairs. Proper utilization of these resources guarantees optimal performance and extends the lifespan of your Juki DDL-8700.
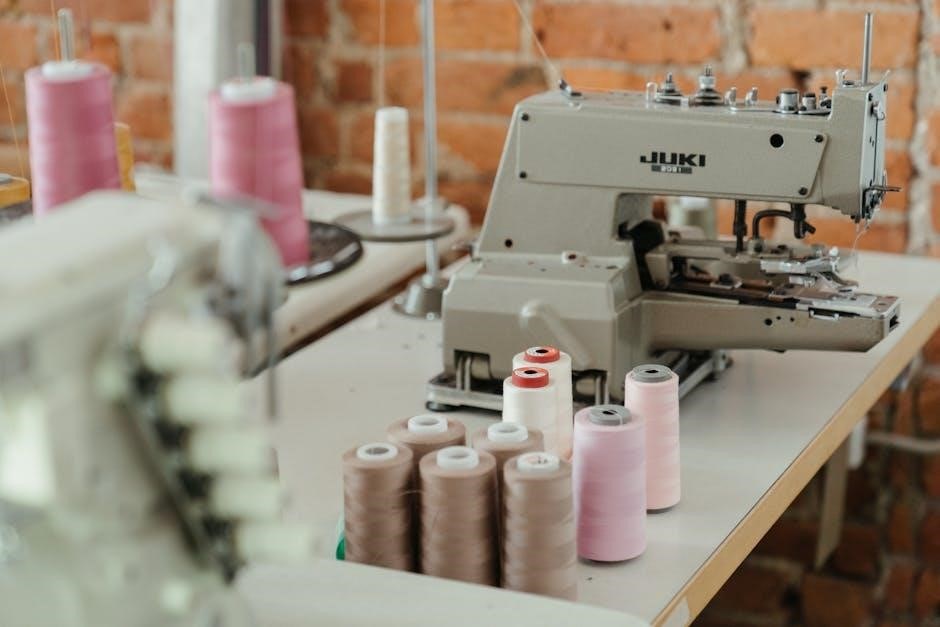
Key Features and Specifications
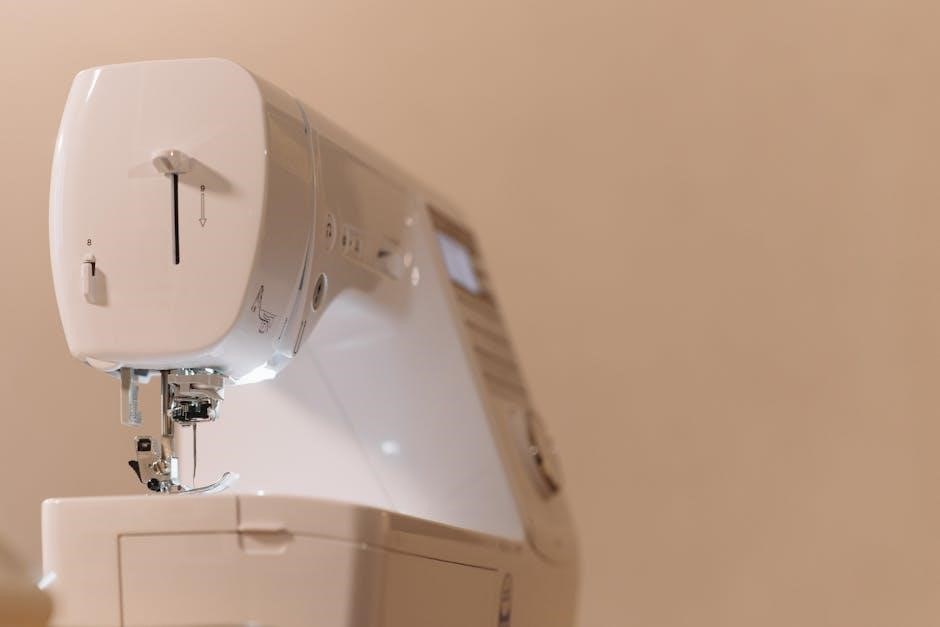
The Juki DDL-8700 boasts several key features contributing to its industrial prominence. It’s a single-needle, lockstitch machine designed for efficient and precise straight sewing, making it ideal for a wide range of fabrics and applications. Manuals, such as those found on the Internet Archive, detail its capabilities.
Core specifications include adjustable stitch length, a robust construction ensuring durability, and a high-speed operation capable of handling demanding production environments. The machine’s design prioritizes ease of use, with readily accessible threading guides and tension adjustments, as highlighted in ABC Sewing Machine’s documentation.
Furthermore, the DDL-8700’s compatibility with various needles and presser feet allows for customization to specific material types and sewing tasks. Detailed specifications and operational parameters are thoroughly outlined in the engineer’s manual, providing technicians with the information needed for optimal performance and maintenance.
Setting Up Your Juki DDL-8700
Proper setup involves unpacking, inspecting components, installing the belt and bobbin winder, and adjusting the knee lifter height for optimal presser foot lift.
Unpacking and Initial Inspection
Upon receiving your Juki DDL-8700, carefully unpack all components, referencing the packing list to ensure everything is present. Inspect the machine for any visible signs of damage incurred during shipping – note any dents, scratches, or loose parts immediately and contact the seller or Juki directly.
Verify the presence of all included accessories, such as the power cord, foot pedal, bobbin winder, and various presser feet. Check the machine head, table (if included), and all accompanying documentation. Confirm the serial number on the machine matches the one on the packing slip and in the manual.
Remove all protective packaging materials, including foam inserts and plastic coverings. Retain the original packaging for potential future transport or warranty claims. A thorough initial inspection is crucial for identifying any issues before operation, ensuring a smooth and trouble-free sewing experience.
Installing the Belt and Bobbin Winder
Begin by installing the under cover, belt cover, and bobbin winder, as outlined in the Juki DDL-8700 instruction manual. Ensure the belt is correctly positioned around the motor pulley and the machine’s drive wheel, providing the necessary power transmission. Proper belt tension is vital for smooth operation; avoid excessive tightness or looseness.
The bobbin winder typically attaches to the upper right side of the machine. Securely fasten it, following the diagram in the manual, ensuring it engages correctly with the bobbin spindle. Test the bobbin winder functionality to confirm it winds bobbins evenly and consistently.
Refer to the manual for specific instructions regarding belt and bobbin winder installation, as variations may exist depending on the model. A correctly installed belt and bobbin winder are fundamental for the machine’s operational efficiency.
Adjusting the Knee Lifter Height
The knee lifter on the Juki DDL-8700 is crucial for raising the presser foot, facilitating fabric handling. Adjusting its height correctly ensures optimal clearance for various fabric thicknesses. According to the instruction manual, the ideal lift height should be between 10-13mm.
To adjust, locate the adjustment screw on the knee lifter mechanism. Loosen the screw and move the lifter up or down to achieve the desired height. Retighten the screw securely once the correct height is set. Verify the adjustment by pressing the knee lever and observing the presser foot’s lift.
Proper adjustment prevents fabric dragging or insufficient clearance, contributing to smoother sewing. Consult the manual’s diagrams for precise location of the adjustment screw and recommended settings for different materials.
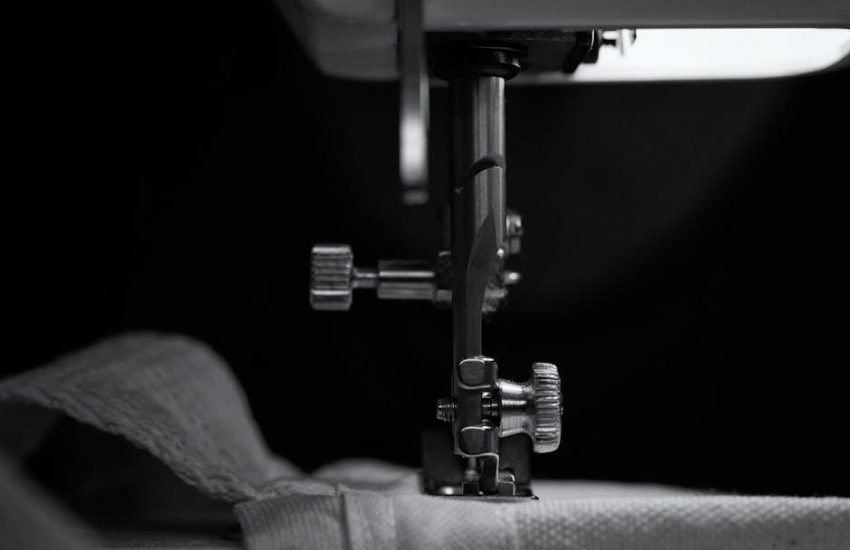
Threading the Juki DDL-8700
Proper threading, both upper and lower, is essential for optimal Juki DDL-8700 performance. Follow the manual’s diagrams carefully for correct thread paths and tension settings.
Upper Threading Procedure
Begin by raising the presser foot and ensuring the needle is in its highest position. Place the thread spool on the spool pin, utilizing a thread guide to maintain consistent flow. Next, guide the thread through the first thread guide, then down and around the tension discs – crucial for proper tension control.
Continue threading through the take-up lever, ensuring it’s fully engaged, and then down through the thread guide located near the needle bar. Finally, thread the needle from front to back, following the designated path. Always double-check that the thread is securely seated in all guides and the tension discs for smooth operation. Refer to the Juki DDL-8700 manual’s detailed diagrams for visual assistance, as incorrect threading can lead to skipped stitches or tension issues. Consistent and accurate threading is paramount for achieving high-quality sewing results.
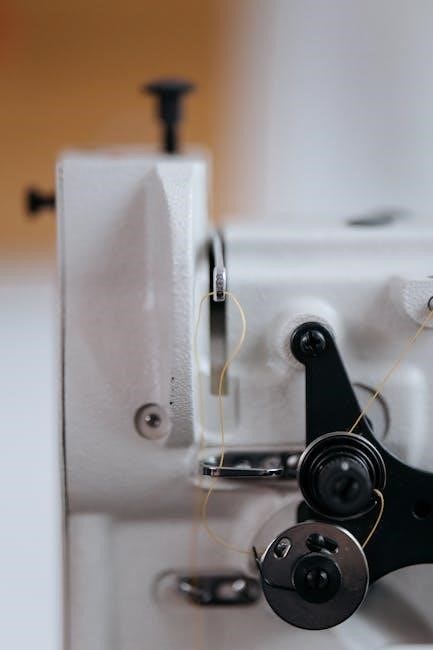
Lower Thread (Bobbin) Threading
Start by securely placing the bobbin onto the bobbin winder spindle. Engage the bobbin winder and allow it to fill the bobbin completely and evenly. Once full, disengage the winder and remove the bobbin. Next, insert the bobbin into the bobbin case, ensuring it rotates freely and in the correct direction – typically counter-clockwise.
Guide the thread through the tension spring of the bobbin case, then through the slot. Draw up the thread tail, leaving a few inches extending from the bobbin case. Carefully insert the bobbin case into the machine’s shuttle hook assembly. Finally, gently pull the thread tail to bring the lower thread up through the needle plate. Proper bobbin threading is essential for balanced stitch formation and preventing nesting or looping issues. Consult the manual for specific diagrams.
Thread Tension Adjustment
Achieving balanced thread tension is crucial for high-quality stitching. Begin by testing with the same type of thread in both the upper and lower sections. Observe the stitch formation; if the upper thread is looping on the underside, the upper tension is too loose. Conversely, if the lower thread is looping on the top, the upper tension is too tight.
Adjust the upper tension dial incrementally, testing after each adjustment. Small changes can make a significant difference. The bobbin case tension typically requires less frequent adjustment, but a screwdriver may be needed for fine-tuning. Aim for a balanced stitch where the thread interlocks evenly within the fabric layers. Refer to the Juki DDL-8700 manual for detailed guidance and recommended tension settings for various fabric types and thread weights.
Operating the Juki DDL-8700
Mastering the Juki DDL-8700 involves selecting appropriate stitches, needles, and presser feet, alongside understanding proper starting and stopping procedures.
Basic Stitch Settings
The Juki DDL-8700 is primarily designed for straight stitch sewing, offering precision and reliability for a wide range of fabrics. Understanding the basic stitch settings is crucial for achieving optimal results. The stitch length is a fundamental setting, controlled by a dial on the machine, typically ranging from 0mm to 5mm. Shorter stitch lengths are ideal for delicate fabrics or when increased seam strength is required, while longer stitch lengths are suitable for basting or heavier materials.
Adjusting the stitch length directly impacts the appearance and durability of the seam. Experimentation with different stitch lengths on scrap fabric is highly recommended before beginning a project. While the DDL-8700 doesn’t offer built-in stitch patterns beyond the straight stitch, its precision allows for consistent and high-quality sewing. Proper tension settings, discussed in a separate section, work in conjunction with stitch length to create a balanced and professional-looking seam. Remember to consult the full instruction manual for detailed guidance on these settings.
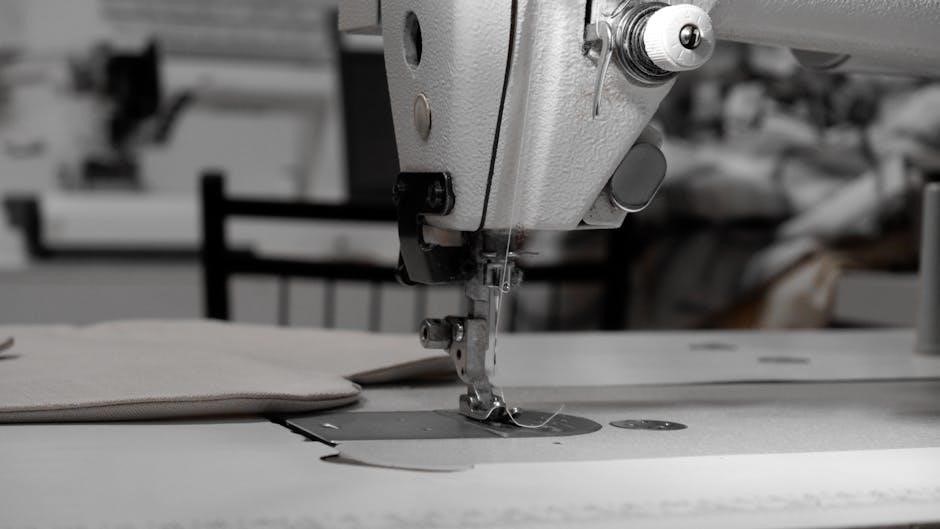
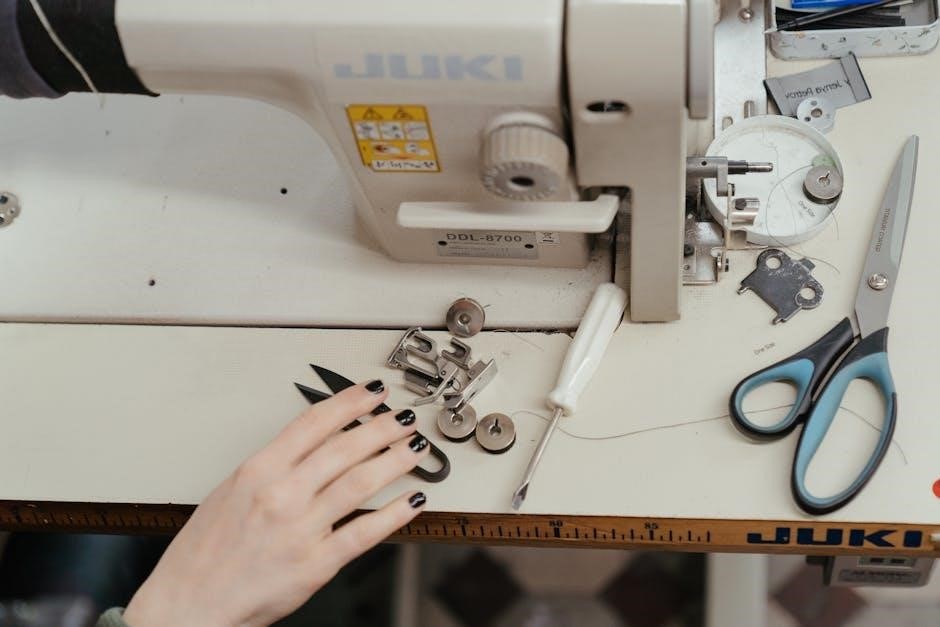
Needle and Presser Foot Selection
Choosing the correct needle and presser foot is paramount for successful sewing with the Juki DDL-8700. Needle selection depends heavily on the fabric type and weight. Universal needles are suitable for woven fabrics, while ballpoint needles are designed for knit fabrics to prevent snagging. Denim needles are ideal for heavier materials like denim and canvas. The needle size should also correspond to the fabric weight; finer fabrics require smaller needles, and heavier fabrics require larger ones.
The DDL-8700 utilizes a standard presser foot system, offering various options for specialized tasks. A standard zig-zag foot is versatile for general sewing, while a narrow straight stitch foot enhances precision. Additional feet, sold separately, cater to specific applications like zipper insertion or buttonholes. Ensuring the presser foot is correctly installed and provides adequate pressure is vital for consistent fabric feed and stitch formation. Refer to the manual for a comprehensive list of compatible needles and presser feet.
Starting and Stopping the Machine
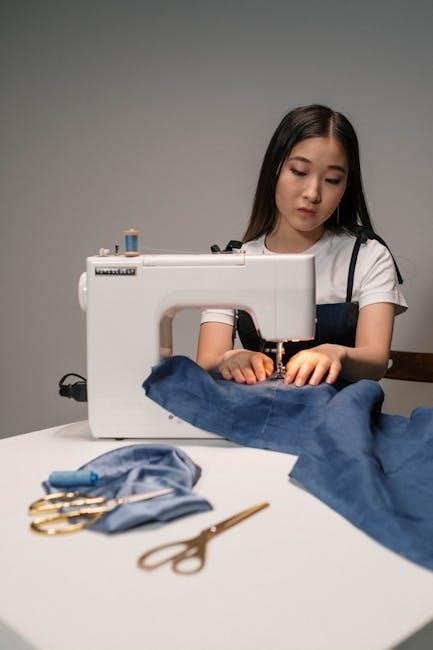
Initiating operation of the Juki DDL-8700 is straightforward. Ensure the machine is properly threaded, the fabric is positioned correctly under the presser foot, and the power switch is engaged. Gently depress the foot pedal to begin sewing; the sewing speed is directly proportional to the pedal’s depression. Always maintain control of the fabric during operation.
To halt the sewing process, release the foot pedal completely. The machine will stop instantly. It’s crucial to avoid abruptly stopping mid-stitch, as this can potentially damage the needle or fabric. Utilize the reverse stitch lever for securing seams at the beginning and end of a sewing line. Always lift the presser foot and needle before maneuvering the fabric to prevent damage or misalignment. Proper starting and stopping techniques contribute to consistent stitch quality and machine longevity.
Maintenance and Troubleshooting
Regular cleaning and lubrication, detailed in available manuals, are vital for optimal performance. Addressing common issues promptly, using provided solutions, ensures longevity.
Regular Cleaning Procedures
Consistent cleaning is paramount for maintaining the Juki DDL-8700’s performance and preventing mechanical issues. Begin by disconnecting the power source before any cleaning procedure. Utilize a soft brush to remove lint, dust, and thread fragments from the bobbin area, feed dogs, and needle plate.
Pay close attention to the oiling points, ensuring they are free from accumulated debris. A clean cloth lightly dampened with sewing machine oil can effectively wipe down exterior surfaces. Avoid using compressed air, as it can push debris further into the machine.
Inspect the belt and bobbin winder regularly for dust accumulation, cleaning them gently as needed. Following these procedures, as outlined in the instruction manual, will contribute to the machine’s smooth operation and extended lifespan, minimizing potential downtime and repair costs.
Lubrication Guide
Proper lubrication is crucial for the Juki DDL-8700’s smooth operation and longevity. Refer to the engineer’s manual for specific oiling points, as detailed lubrication prevents friction and wear on moving parts. Use only high-quality sewing machine oil, applying it sparingly to avoid over-lubrication, which can attract dust.
Key areas requiring regular oiling include the needle bar, presser foot bar, hook assembly, and all gear mechanisms. After oiling, operate the machine briefly to distribute the lubricant evenly. Wipe away any excess oil to prevent staining fabric.
Consistent adherence to the lubrication schedule outlined in the manual, alongside regular cleaning, will significantly reduce the risk of mechanical failures and ensure optimal sewing performance. Ignoring lubrication can lead to increased friction, overheating, and ultimately, costly repairs.
Common Issues and Solutions
Thread breakage is a frequent issue, often caused by incorrect threading, tension imbalances, or a dull needle. Re-thread the machine carefully, adjusting tension as needed, and replace the needle regularly. Skipped stitches can indicate incorrect needle size for the fabric, a bent needle, or timing issues – consult the engineer’s manual for timing adjustments.
Fabric puckering often stems from improper tension or incorrect presser foot pressure. Experiment with tension settings and ensure the correct presser foot is used for the fabric type. Noise during operation may signal a lack of lubrication or loose parts; address these promptly.
For complex problems, the detailed engineer’s manual provides diagnostic steps and repair procedures. Remember to disconnect the power before attempting any internal repairs or adjustments.
Advanced Features & Engineer’s Manual Information
Unlock the Juki DDL-8700’s full potential with the 71-page engineer’s manual, offering detailed service insights and maintenance procedures for technicians.
Access comprehensive guides online, empowering skilled users to optimize machine performance and tackle complex repairs with precision and expertise.
Detailed Service and Maintenance (Engineer’s Manual Focus)
The Juki DDL-8700-7 Engineer’s Manual, a 71-page resource, delves into the intricacies of servicing this industrial sewing machine. It’s designed for technicians requiring in-depth knowledge beyond basic operation. This manual provides detailed exploded views, parts lists, and step-by-step instructions for disassembly, repair, and reassembly of various machine components.
Key areas covered include precise timing adjustments, motor control troubleshooting, and detailed explanations of the machine’s mechanical and electrical systems. Furthermore, it outlines specific lubrication points and recommended procedures to ensure smooth operation and prevent premature wear. The manual emphasizes diagnostic techniques for identifying and resolving common malfunctions, enabling efficient repairs and minimizing downtime. Technicians will find valuable information on sensor calibration, stitch length and width adjustments, and the proper handling of specialized tools required for maintenance. Accessing this manual is crucial for maintaining the Juki DDL-8700-7 at peak performance.
Accessing the Full Engineer’s Manual
The comprehensive 71-page Juki DDL-8700-7 Engineer’s Manual is readily available through online resources, notably the Internet Archive. Users can access this valuable document via a direct link, allowing for convenient download and offline viewing. The manual, weighing 4.79 MB, is cataloged under the Internet Archive’s “manuals” collection, specifically within the “JUKI” contributions.
Alternatively, Manualzz provides online access to the same detailed guide, eliminating the need for a download. Both platforms offer a user-friendly interface for navigating the manual’s contents. Searching for “Juki DDL-8700-7 Engineers Manual” on these sites will quickly locate the resource. It’s important to note the manual is identified by “ark:/13960/t72w2w66d” on the Internet Archive, aiding in precise identification. Ensure a stable internet connection for optimal viewing and downloading, empowering technicians with essential service information.